How To Live Stream/Video Conference Meetings
With current world events in-mind, the use of easily accessible technical solutions can help keep the continuity of governance. In this easy to use guide, we detail how to set up a live stream for your board or other necessary meetings allowing your community to participate in the comfort of their own homes.
What Equipment Do I Need?
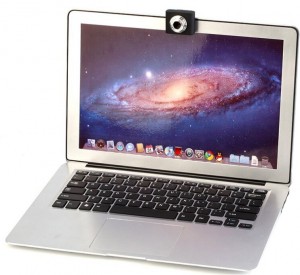
For basic meetings, just a laptop or desktop computer with a camera and an internet connection. For Zoom you can choose to use a computer or smart phone.
If you want to improve the quality, there are three areas to keep in mind: 1.) Audio quality (entry-level lavalier mics run between $20 and $40 on Amazon). 2.) Video quality, depending on the age of your device, the quality of video can vary greatly (external cameras vary in cost between $40 and $100 on Amazon). 3.) Lighting, having a lamp or a small LED light near your face can make huge improvements in the quality of the video as it makes it easier for the camera to see you.
How to get setup
ZOOM
**Note: While Zoom does require a paid subscription, it is nominal at $15 per month for one host. The host can then schedule unlimited meetings each month, and each meeting can have up to 100 participants.**
1. To get started with Zoom, go to Zoom.us.
2. Choose the “Pro” plan which costs $14.99 a month for each host. We recommend assigning your clerk as the host to schedule each meeting and invite others. 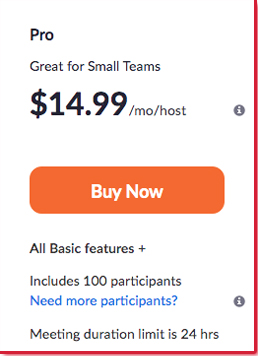
3. Click “Schedule A Meeting” at the top of the page on zoom.us.

4. Enter all the scheduling details you may need, including the meeting name, date and time. All other settings you can leave on the default. Make sure you click the blue “Save” button at the bottom of the page.
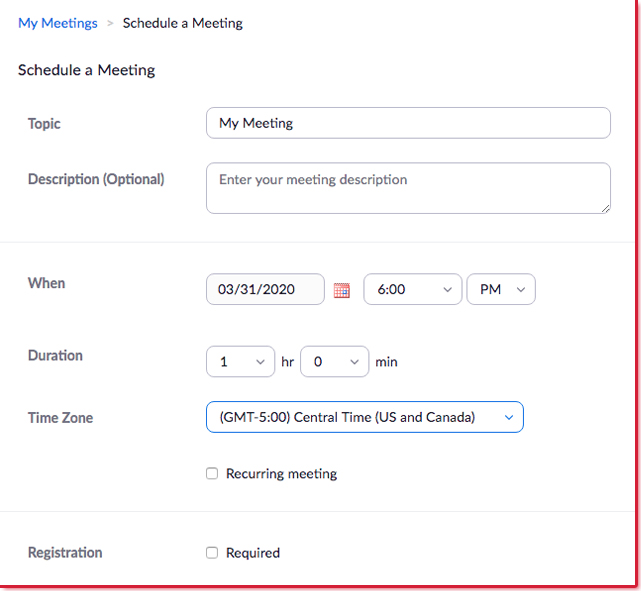
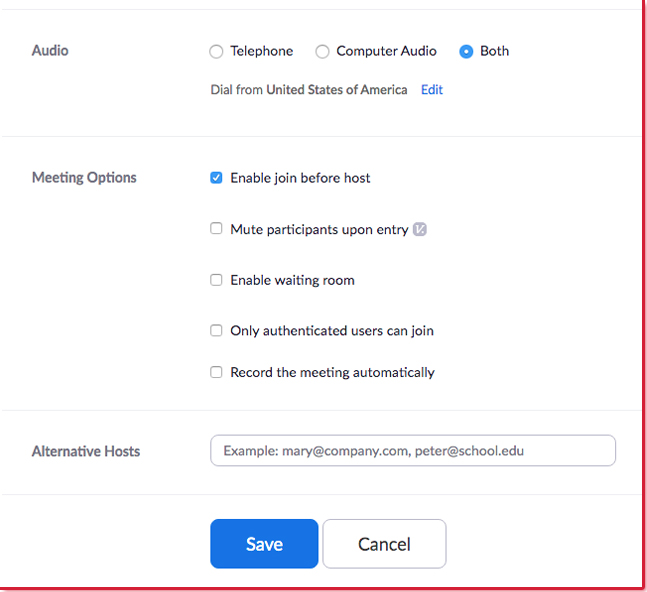
5. Once you have saved the meeting, you can immediately launch the meeting, or copy the link to the meeting and send it to your invitees.
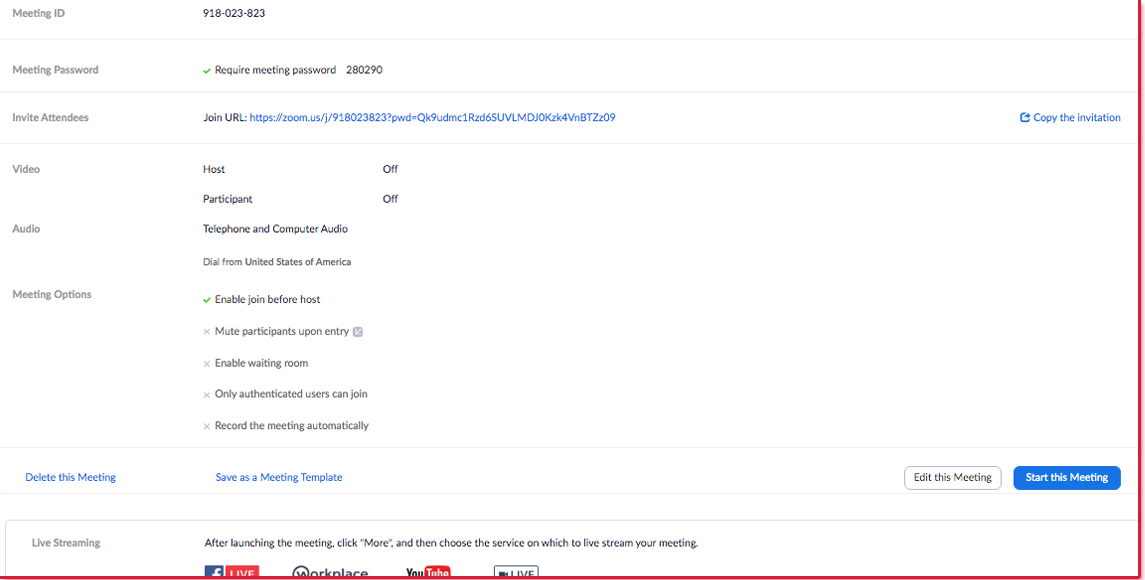
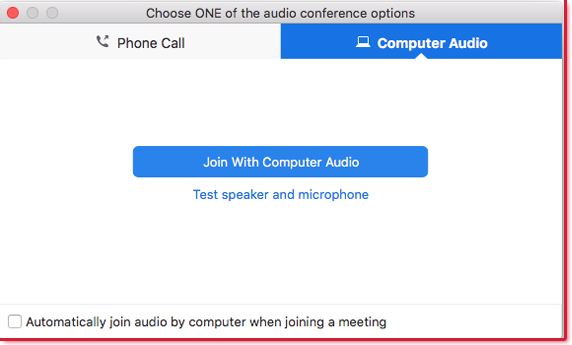
6. When you are ready to start your meeting, you can also choose to live stream the meeting by clicking the “More” button. (Note: You should already have your account set up for the live stream service you would like to use.)
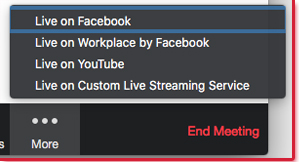
7. Choose the source of audio you would like to use for the meeting.
8. If you would rather not live stream the meeting but would like to record it, you can click the “Record” button and then upload the video later to YouTube.
YouTube Live
This is what one of Town Web’s Meetings looks like in Zoom, streamed via YouTube Live
*If you would like YouTube’s instructions, please see this article from YouTube.*
1. You must have a free YouTube account, so if you do not already, go to YouTube.com and create one.
2. In order to make this work your web browser needs to be up to date. If using Chrome it must be version 60+ or Firefox version 53+ (Chrome is currently running version 80+ as of March 20th, 2020).
3. Click the upload button in the upper right corner. Choose “Go Live”
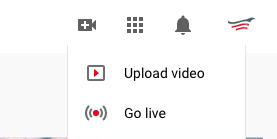
**You will receive the following message the first time you click “Go Live”:
It takes 24 hours to activate your account for live streaming. Once activated, you can go live instantly.
4. Enter a title and description, and select a privacy setting. If you would like to embed the video on your site, you will need to click “schedule for later”. Please set this up as far in advance as possible so the Town Web support team have time to embed your video.
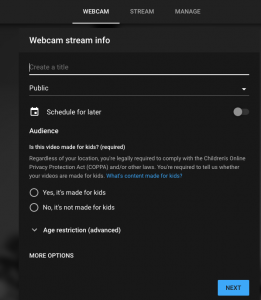
5. Once you’ve clicked “schedule for later,” click share and send the link to [email protected] with the link and a titled “Urgent- Live Stream Video Link”

6. Click More options > Advanced Settings for more settings.
7. Click Save. Your camera will then take a thumbnail.
8. If you are not going to embed on your site and will stream directly, click Go Live.
9. When you’re done streaming, click End Stream at the bottom. All streams under 12 hours will be automatically archived. You can access previous, current, and upcoming streams in the Live Tab.
